

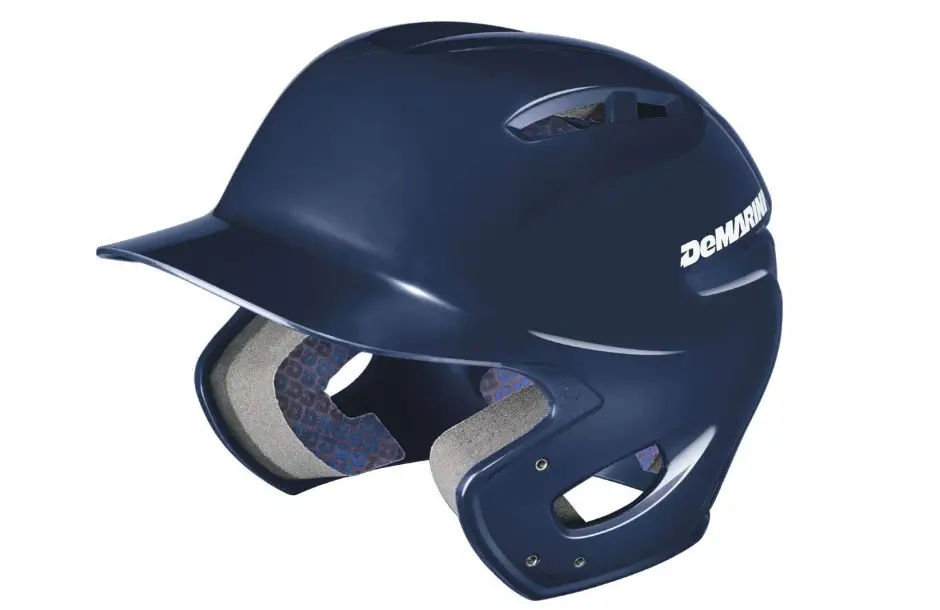
How To Draw A Baseball Helmet
*As an Amazon Associate I earn from qualifying purchases. I will get commission for purchases made through links in this post.*
Painting a helmet is a fun activity that gives your helmet a custom expect.
Popular brands industry some baseball helmets with beautiful designs, but they can't make 1 as per the blueprint requirement of each and every histrion.
In that instance, painting a helmet is a practiced idea because it'southward not a difficult task, you tin do information technology easily.
But, along with that, you also have to be careful because if you pigment in a careless mode, it may ruin the await & feel of the helmet.
So, information technology's important to be 100% circumspect while painting a helmet.
Below, I've shared a step-by-step guide that clearly shares data on how yous can customize the expect of your baseball helmet.
Another affair that you lot need to empathise is that these tips are equally helpful for painting a baseball helmet or any other type of helmet.
Then, permit'south get started.
Things Yous'll Need
There are a few things that will be required if yous desire to perfectly pigment your helmet.
You tin notice a list of items that you will need in the process below. Make sure to grab all the things before starting the procedure.
- Gloves
- Sandpaper
- Masking Tape
- Grease & Wax Remover
- Primer Paint
- Base Color Pigment
- Clear Glaze
Steps of Painting a Baseball Helmet
Stride ane: Wear Gloves
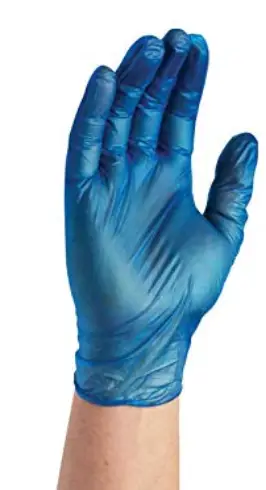
Before starting the process, it is important to wear gloves because hands can go out grease marks on the helmet in the procedure. Those little grease marks can ruin your design and paint.
Pace 2: Use Sandpaper
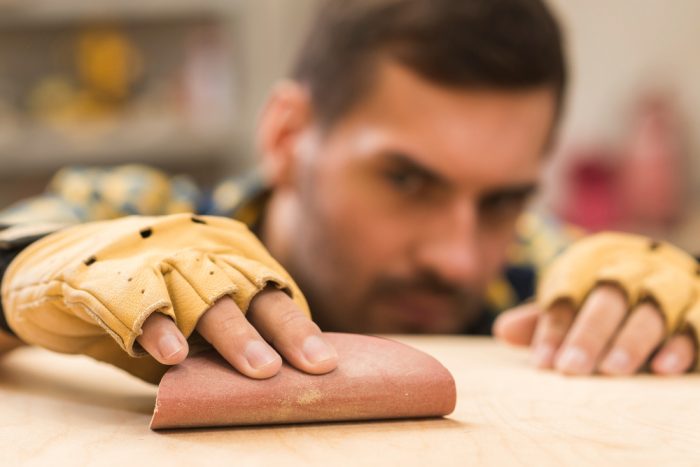
The first thing that you take to do is to become rid of shiny areas on your helmet. The paint won't stick on those glossy surfaces. Although it might seem to stick at first, it volition somewhen scrap off and will non terminal for a longer duration.
You need to use sandpaper to brand the surface a footling rough and then that the paint tin easily attach to the surface. Wherever you programme on painting, brand sure to sand it off outset to give you a rough texture to commencement with.
Footstep 3: Use Grease or Wax Remover
To clean off dust or wax from the surface of the helmet, use grease or wax remover. If you don't have grease remover, you can besides effort a drinking glass cleaner.
Pace 4: Apply Masking Tape
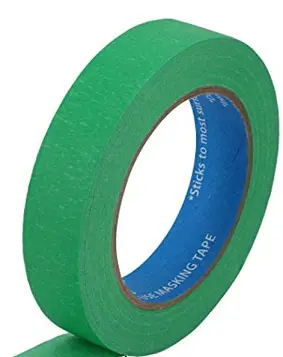
You need to mask off annihilation that yous don't want to paint similar the inner side of the helmet, vents, holes, bolts, etc. to protect these areas.
The masking record tin also be used to create two or more color designs on your helmet.
For that, create a pattern on your helmet, and mask off a item expanse to protect it from getting painted past a different color.
Step 5: Use a Pigment Primer
The undercoat or primer paint is a preparatory coating that is put before the painting. The primer is used because information technology ensures that paint sticks on the surface. Along with that, information technology as well helps to increment the longevity of the pigment and provide some protection to the materials that are being painted.
Therefore, to improve the immovability and adhesion of the pigment, use a paint primer first.
After applying the paint primer, make sure to let it fully dry out starting time before moving on to the next pace.
Pace half dozen: Utilise of Base of operations Color

Now, information technology's time to utilize your chosen base of operations color. Information technology is the color that you want to use on your helmet.
Choose your favorite color or your favorite MLB squad's uniform colour and exercise at to the lowest degree three coats on your helmet for maximum opacity.
Before moving to the next step, it is very important to let the paint dry completely.
Pace 7: Creating Patterns on your Helmet
If you want to create a pattern or blueprint, you can use masking tape for that purpose.
Utilise the masking tape on a item area of the helmet, and and so utilize a dissimilar color to pigment the remaining surface.
Footstep 8: Apply Clear Coat
Afterward painting your helmet with your base colors, use three or four layers of articulate coat on the helmet.
Using a articulate glaze will enhance the depth of the paint, and reduce the requirement for buffing.
After putting the final layer, let the helmet dry completely which can take up to 24 hours.
Step 9: Unmasking the Helmet
When you're finished painting your helmet and information technology's completely dry, you can now carefully remove the tape.
After removing information technology, clean the surface that was covered with masking tape to remove whatever dust or debris.
The Last Result
After doing all these above-mentioned steps, you'll get a baseball helmet that'll have a customized pattern.
A practiced-looking helmet with your favorite colors will give you a feel of a professional player, and you lot'll love to use it on the field. Aside from painting a helmet, you can also pigment your baseball game bat and ball.
If you have any questions regarding the painting of a helmet, just put them in the annotate section. I'll endeavour to get back to you every bit soon as possible.

Source: https://thebaseballguide.com/painting-a-baseball-helmet/
Posted by: eppsreck1993.blogspot.com
0 Response to "How To Draw A Baseball Helmet"
Post a Comment